Избранное

Sources

How to build your first app in Android Studio: https://developer.android.com/training/basics/firstapp/

Interactive video to learn Android: https://eu.udacity.com/course/new-android-fundamentals—ud851

Explore Android Studio: https://developer.android.com/studio/intro/

How to install Android Studio: https://developer.android.com/studio/install

Android MySQL Database Tutorials:

  1. https://www.youtube.com/watch?v=HK515-8-Q_w
  2. https://www.youtube.com/watch?v=eldh8l8yPew
  3. https://www.youtube.com/watch?v=UqY4DY2rHOs
  4. https://www.youtube.com/watch?v=age2l7Rrwtc

17.10.2019

After working the whole day, I finished doing all features that have left.

First of all, I solved the difficulty with push-notifications. I made an alert dialog saying how many updates were published since a user used the app last time. An alert dialog isn’t showed if there are no updates. This is the way the main screen looks if there are 2 new posts.

It is also possible to do push-notifications, but I decided on the alert dialog because this way a user wouldn’t miss anything.

Also I improved the Marks button: now all marks are stored and won’t be lost as soon as app is closed. This is how the marks layout looks like.

You can see all subjects we have in the sixth grade (app can be adapted for different grades).

Next steps to be made:

  1. Finish writing my matura paper.
  2. Sharpening design.

Marks button

Today I made Marks button work. After clicking on this button a new activity opens and a user can see the screen like in the picture below.

To get an average mark a user has to type their marks in the space above in the float format, between every two numbers there has to be a gap.

After clicking on the Calculate an average button, a user gets an average of marks they typed in. See the picture below.

The difficulty I faced was reading all marks and interpreting them like float numbers, because before that I did this only with strings. I solved this problem using two lines of code:

String inputString = editText.getText().toString();
String[] input = inputString.split(" ");

Next steps to be made:

  1. To sharpen the design of my app.
  2. To make push-notifications.
  3. To think about database for marks.

Load new posts

Today I made the Load new posts button work. See the way the main screen of my app looks below.

Open board, Open moodle and Homework buttons are working like they did before and now the Load new posts button is working as well. You can type in time in the space above. I also adapted the keyboard so it shows only numbers. Using this button I have checked if the code is working properly.

After typing in time you can click on the Load new posts button and, depending on the entered time, an alert dialog saying either «Updates» or «No updates» appears. For example, in my database there are two posts with post_time 143615 and 1569316135. Post_time column is highlighted in blue in the screenshot below.

If the entered time is greater that or equal to 1569316135 this is what the screen looks like after pressing button.

Otherwise it looks like in the picture below.

I have reached this stage using BackgroundWorker and load.php file on the server. See the code below.

My first version of the code didn’t work so I had to debug it for quite a while. Finally, I realised that there were some mistakes in the php file. I had put the wrong type of inverted commas so it was impossible to get any information from the database. It was also important to add android:usesCleartextTraffic=»true» to the AndroidManifest otherwise it didn’t work.

Next steps to be made:

  1. To make push-notifications.
  2. To think about my matura paper structure.
  3. To make the Marks button work.

Homework

Today I made the Homework button work. Now if a user clicks on this button, a new window opens and all tasks can be seen. This feature is similar to ToDo list feature. That means the user can add new tasks and delete those they have done.

This is the way the list looks.

Homework list

Using the button in the right corner it’s possible to add a new a task. If a user clicks on this button they can see a window where they can type in their next task. See the picture below.

After clicking button in the right corner

As soon as a user adds a new task they can delete it using the Done button after each task.

Next steps to be made:

  1. To write a chapter about Intent in my matura paper.
  2. To write about WebView and related problems (opening all local webpages — rather than the first webpage only — in the WebView and returning to the previous webpage) in my matura paper.
  3. To create a new activity connected to the Marks button to calculate average marks and give forecasts about promotions.
  4. To make push-notifications.
  5. To work on the design (including finding more sources on the subject).

WebView for buttons

Today I made WebView for both webpages I had had before (board.samd.ch and moodle.samd.ch). The difficulty described in the WebView post arose this time as well. Now, after some debugging of the code, all local links open directly in the app while global links open in the browser. Another difficulty I faced was that WebView didn’t allow to go to the previous page, but kept returning me right back to the app.

So my solution was to check if it is possible to go back to the previous webpage. When it is impossible, the user would be redirected to the app. See the code below.

@Override
public void onBackPressed() {
if (view.canGoBack()) {
view.goBack();
} else {
super.onBackPressed();
}
}

It was also important to remember to make view a global variable, adding WebView view at the beginning.

06.10.2019

Today I began designing my app. See the first version below.

First Version of my app

The purpose of the Load new posts button is to show all posts that were published later than at the entered time. I am not going to add this button to the final version, this is an intermediate step to check if the code is working properly.

After pressing the Open board button the https://board.samd.ch/ webpage opens.

Logically, after pressing the Open moodle button the https://moodle.samd.ch/ webpage opens.

Next steps to be made:

  1. To make sure that the webpages open directly in the app using WebView.
  2. To connect the file database_query.php to my app to get information about recent updates.
  3. To add Marks button allowing students to type in their marks (including automatic calculation of an average mark, forecasts about promotion, etc.) and Homework button for a feature allowing students to type in their home assignments.

WebView

After a long break caused by some technical difficulties I have resumed working on my app. This time I added WebView there. It is a feature that allows users to open a webpage directly in their app.

First of all, my app had to request permission to get access to the Internet. It did so using the following line of the Manifest code:

<uses-permission android:name="android.permission.INTERNET" />

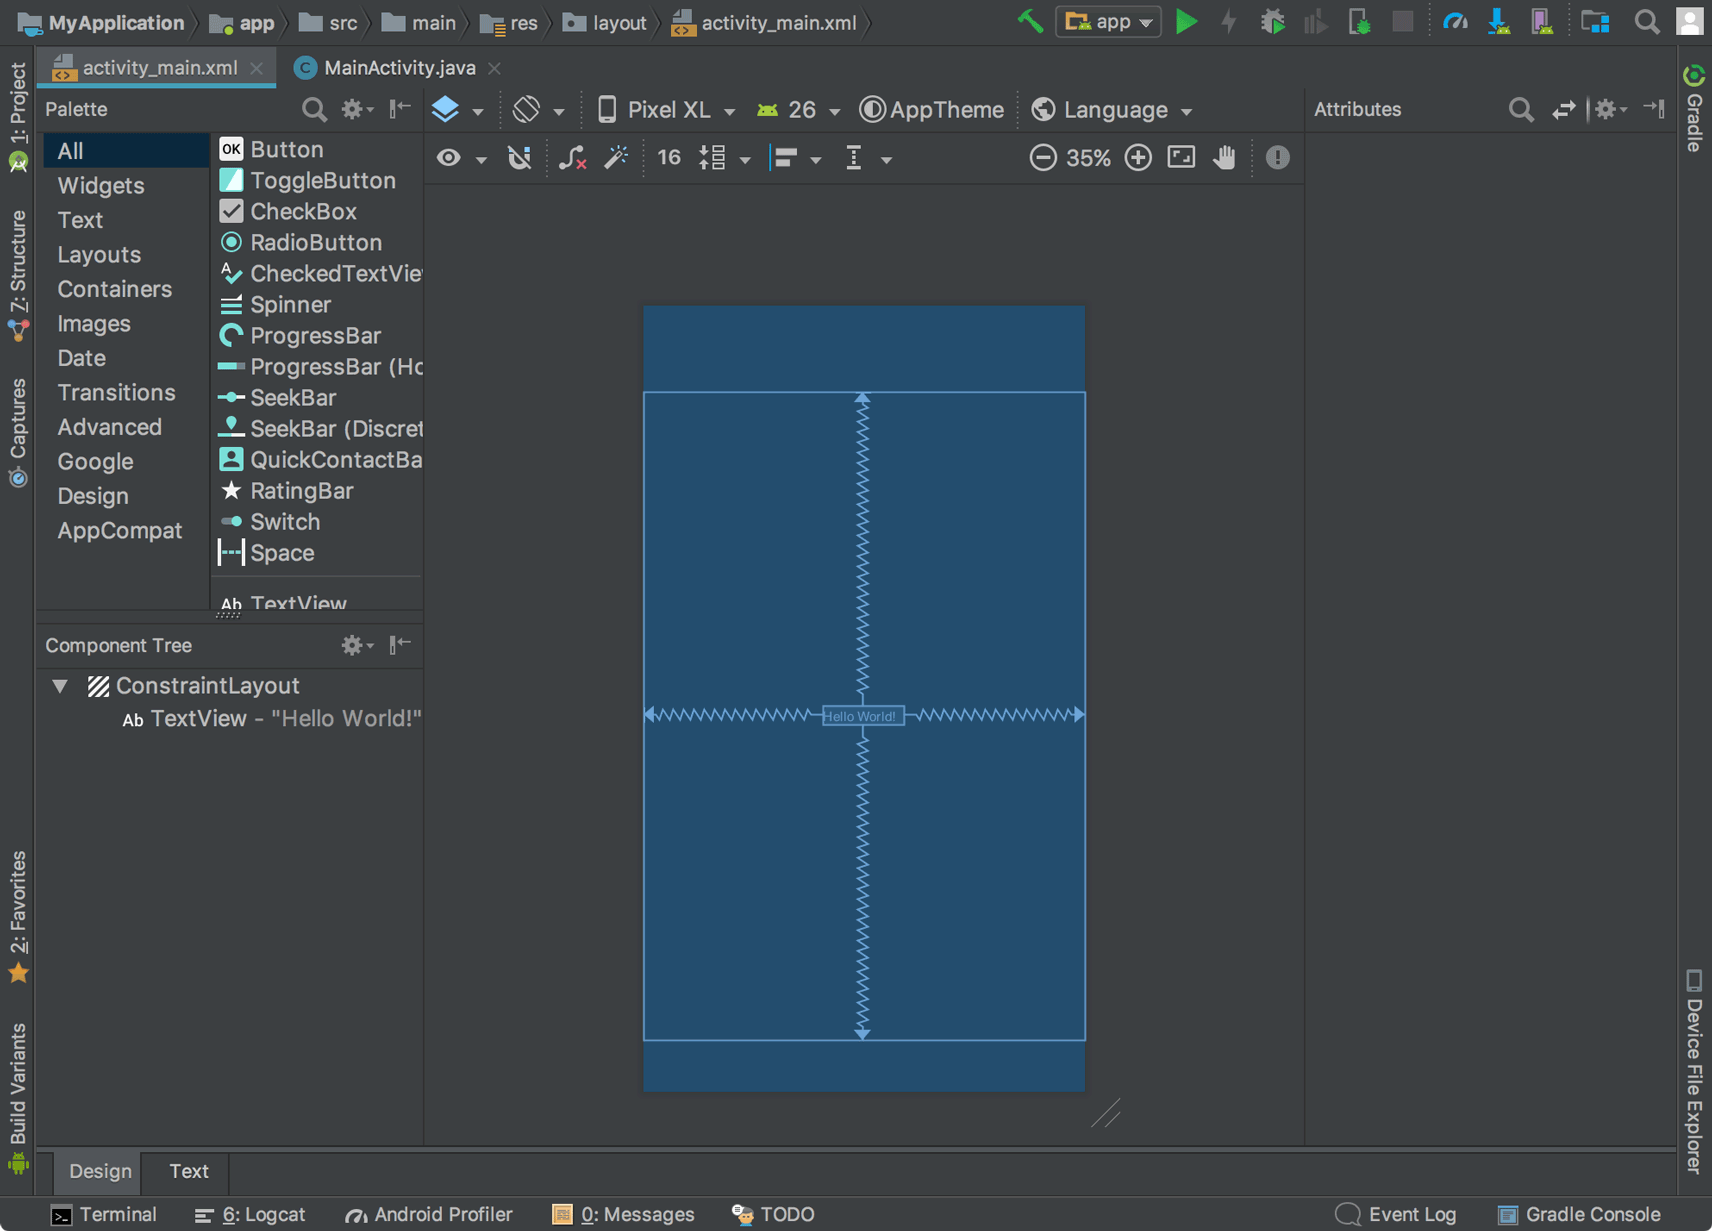
I would like the samd.board.ch webpage to open on the main screen of my app as soon as someone starts using it. To achieve this goal I added this to the MainActivity:

WebView myWebView = (WebView) findViewById(R.id.webview);
myWebView.loadUrl("https://board.samd.ch/");

I added JavaScript decoder so that my app could display the webpage.

A difficulty I faced was that every next page except the first one was opening on the Internet, but not in my app. That’s why I added a few lines of the code so it can check what webpage a “click” goes from. If it goes from the original page the app won’t redirect users to the Internet. So this is the checking function:

myWebView.setWebViewClient(new WebViewClient() {
public boolean shouldOverideUrlLoading(WebView view, String url) {
if (Uri.parse(url).getHost().equals("https://board.samd.ch/")) {
Toast.makeText(getApplicationContext(),
"Do not open the Browser",
Toast.LENGTH_SHORT).show();
return false;
}

startActivity(new Intent(Intent.ACTION_VIEW, Uri.parse(url)));
return true;
}
});

I decided to test my app using other webpages. Surprisingly, it didn’t work with the page my supervisor had created for me. The only difference between these two pages was https or http at the beginning. I tested some other webpages: it worked properly with the ones starting with https and it didn’t for those with http.

Questions to consider:

  1. What is the difference between https and http webpages?
  2. Why doesn’t my app work with http webpages?
  3. Which is better — to add a special button that can redirect the user to the webpage or to open it immediately in the app?